


by Dave Willis
Migrating from WiseStamp to Exclaimer: A simple step-by-step guide
17 April 2026
0 min read
TL;DR
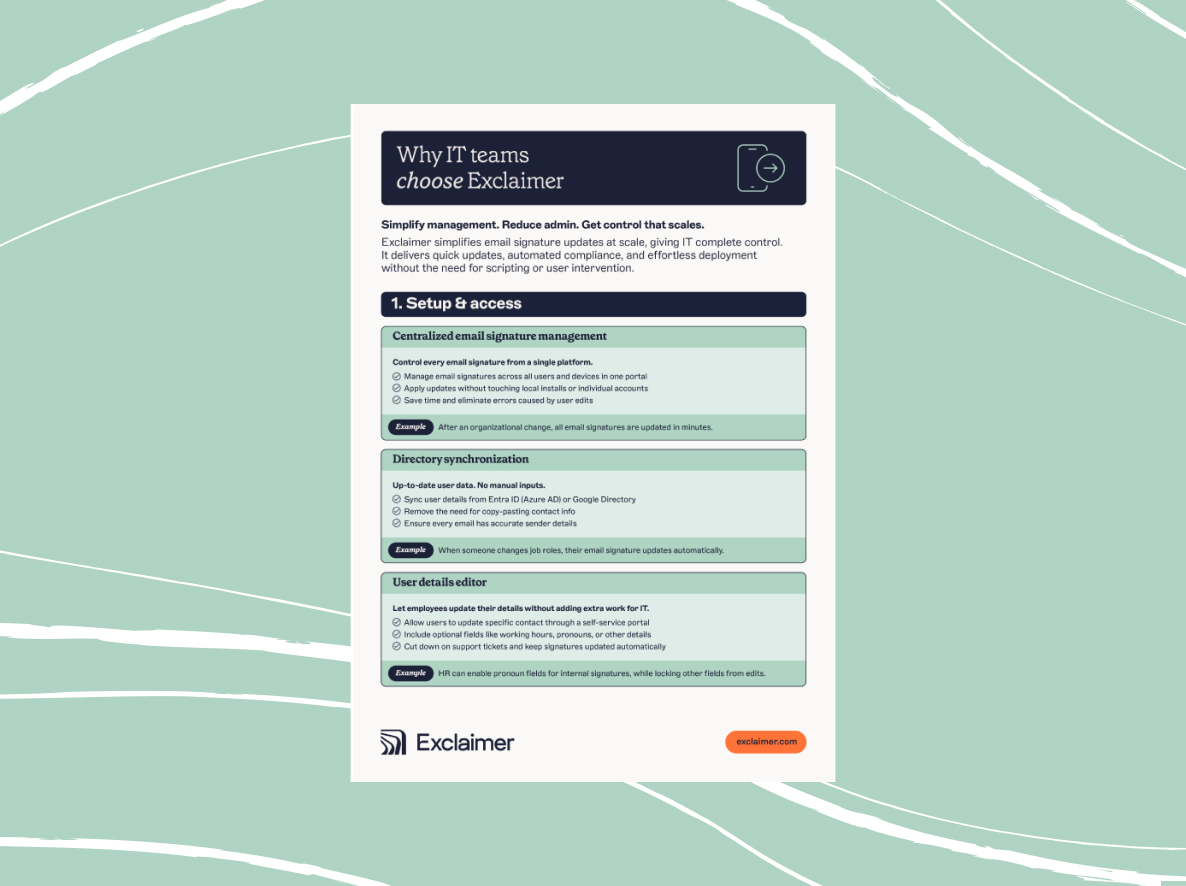
Why switch: WiseStamp covers the basics. Exclaimer gives you centralized control, consistency, and compliance at scale.
What changes: You gain precise control over how signatures are applied across users, regions, and brands, even in complex environments.
Before you migrate: Audit current signatures, clean directory data, and define how signatures should work across teams.
How it works: Set up Exclaimer, rebuild templates, test with a pilot group, then roll out in phases.
The result: Consistent signatures everywhere, fewer support tickets, and less manual work for IT.
Switching email signature platforms shouldn’t create more work for IT. But without a plan, it often does.
If you’re using WiseStamp, you’ve probably run into the same issues most teams face as they grow: inconsistent branding, limited control, and a lack of integration with CRMs and other business-critical tools.
Migrating to Exclaimer changes that. It gives IT centralized control, advanced brand management, and support for the tools you already use and rely on.
This guide shows you how to move from WiseStamp to Exclaimer without disrupting email flow. You’ll see what to prepare, how to migrate step by step, and how to confirm everything is working as expected.
Should you switch from WiseStamp to Exclaimer?
Most teams don’t switch tools for the sake of it. They switch because something isn’t scaling.

With WiseStamp, that usually shows up as:
Insufficient support for role-based delegation
Limited control over branding across teams or regions
Gaps in compliance visibility or auditability
Difficulty managing signatures across a growing organization
Exclaimer is built to solve those problems at scale. It gives IT centralized control over email signatures while still letting other teams manage what they need, within clear guardrails.
If your organization is growing, operating across regions, or dealing with compliance requirements, it’s a switch worth considering.
WiseStamp vs Exclaimer: Comparing key features and integrations
Both Exclaimer and WiseStamp manage email signatures. The difference is how far they go beyond that.
Capability | Exclaimer | WiseStamp |
Control and governance | Advanced role-based access with full administrative control. IT sets guardrails while other teams work within them. | Basic edit and view permissions that become harder to manage as teams grow. |
Branding at scale | Centralized Brand Kits for multiple brands, departments, and regions. Apply updates globally in minutes. | Typically limited to a single brand setup, making multi-brand management difficult. |
Compliance and auditability | Built-in audit logs and centralized disclaimer management for consistent enforcement. | Audit logs limited to higher-tier plans, with less visibility by default. |
Integrations | Native integrations with Microsoft 365, Google Workspace, Salesforce, HubSpot, and more. | More limited integrations, with no CRM-driven targeting. |
Campaign and content control | Supports dynamic content, scheduled campaigns, and targeted messaging using rules and CRM data. | Basic banner updates and scheduling, with limited targeting options. |
Directory and data sync | Syncs with multiple sources including Entra ID, Google Directory, Okta, and Workday. | Primarily relies on Entra ID and Google Directory, with more manual effort for other sources. |
Beyond email | Extends branding to Teams, Zoom, and Google Meet for consistent communication across channels. | Focused on email signatures only. |
Support | 24/5 global support with localized teams. | Chat and ticket-based support, no localized teams. |
In short, WiseStamp works for smaller or simpler setups. Exclaimer is designed for organizations that need consistent control across users, devices, and systems.
Delegate. Standardize. Scale.
See the difference in how Exclaimer and WiseStamp handle growth, complexity, and multi-team environments.

What to prepare before migrating from WiseStamp to Exclaimer
A smooth migration starts with a bit of upfront structure. Most issues teams run into later come from skipping this step.
1. Audit your current signatures
Start by reviewing what’s already in place.
Identify how many signature versions exist across teams
Look for inconsistencies in logos, fonts, and formatting
Check where disclaimers are missing, outdated, or applied unevenly
This gives you a clear baseline and highlights what needs fixing, not just replicating.
2. Define how signatures should work going forward
Don’t just copy your current setup. Use this as a chance to clean it up.
Decide how signatures should vary by department, region, or role
Confirm which elements must stay fixed, such as legal disclaimers
Agree who owns what across IT, marketing, and compliance teams
This keeps the migration focused and makes it easier to validate once you’re live.
3. Clean and validate user data
Signatures are only as accurate as the data behind them.
Review directory fields like job titles, phone numbers, and office locations
Remove duplicates or outdated entries
Standardize formats across users
Since Exclaimer syncs directly with directory sources, this step prevents errors from showing up in every email.
4. Map your integrations and environment
Take stock of how email and user data are managed today.
Confirm whether you’re using Microsoft 365 or Google Workspace
Identify any CRM or directory integrations you want to connect
Check how signatures are currently applied in WiseStamp
Exclaimer integrates with platforms like Microsoft 365, Google Workspace, Salesforce, and HubSpot, so planning this upfront avoids rework later.
5. Plan your rollout approach
Avoid switching everything at once.
Choose a small pilot group to test first
Set a phased rollout timeline by team or region
Prepare a simple internal message so users know what to expect
Most users won’t notice the change if it’s done right. That’s the goal.
How to migrate from WiseStamp to Exclaimer, step by step
1. Set up Exclaimer
Connect Exclaimer to your email environment:
Directory sync pulls in user data automatically, so you don’t need to manage it manually.
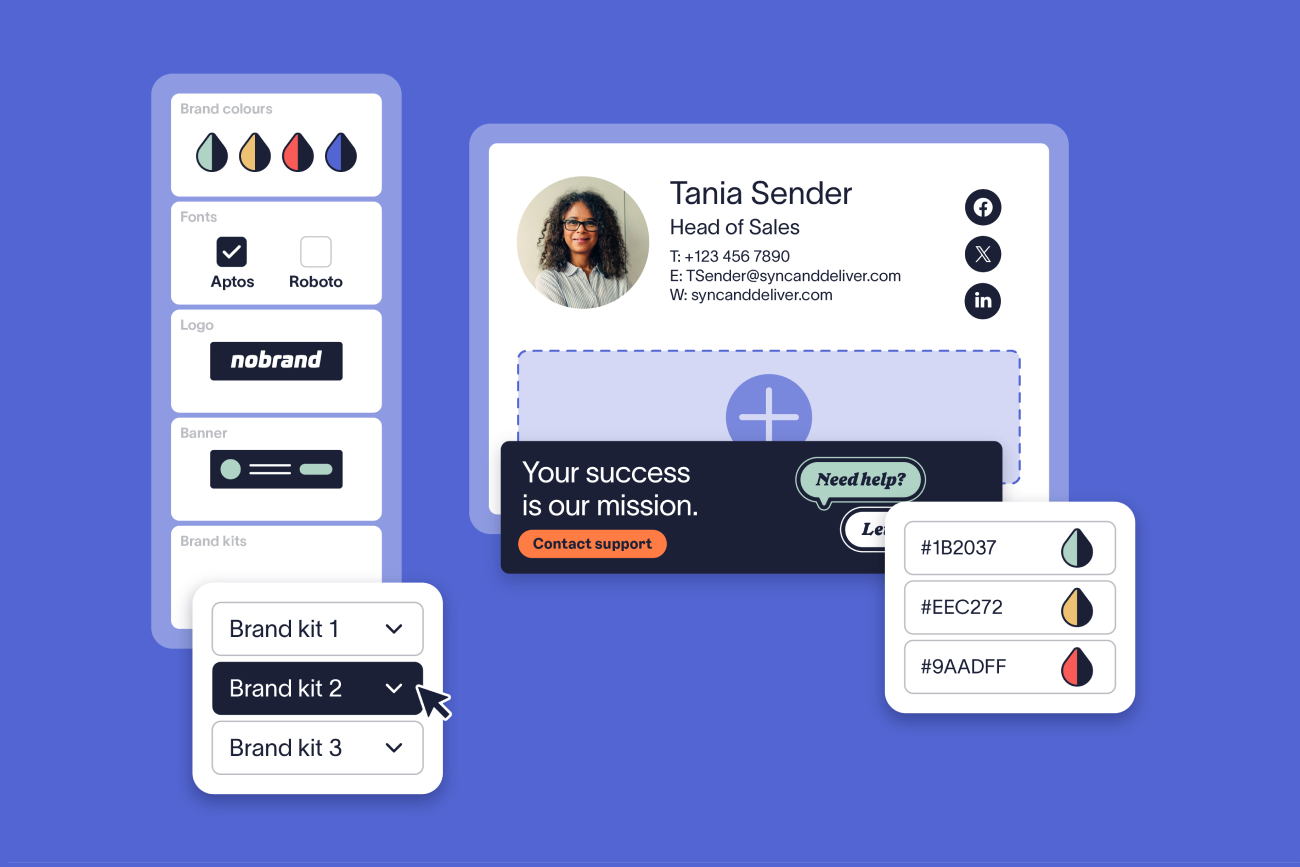
2. Rebuild and improve your templates
Select one of Exclaimer’s pre-built signature templates, then modify it to meet your organization’s needs. Alternately, you can recreate a fully custom email signature design.
Apply consistent branding across all templates
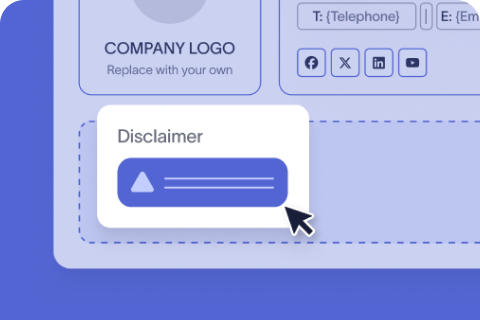
Add required legal disclaimers
Use centralized rules for departments or regions
This is where most teams fix long-standing inconsistencies.
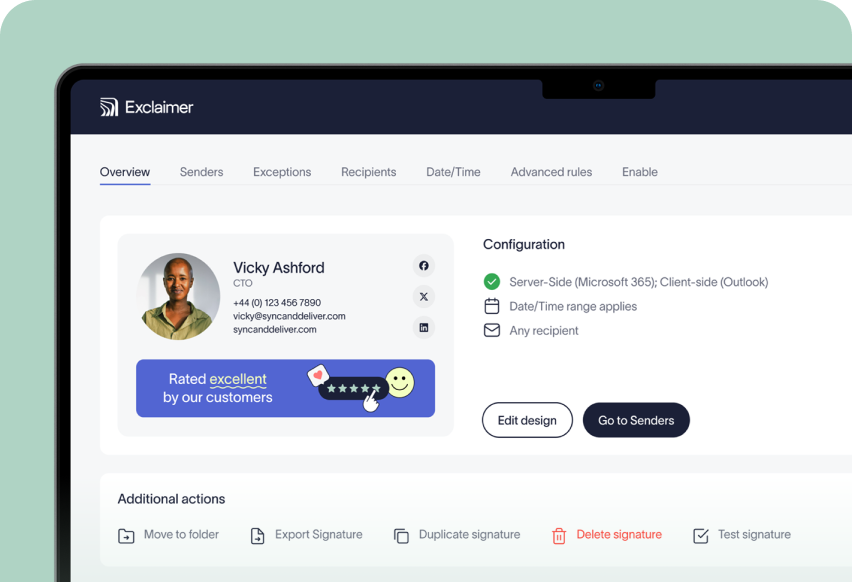
3. Configure rules and permissions
Set how signatures are applied:
Assign signatures by user group, department, or location
Define who can edit templates using role-based access
Lock down compliance elements like disclaimers
This removes manual updates and reliance on users to “get it right.”
4. Test before rollout
Run controlled tests:
Send emails across devices and clients
Check formatting, links, and disclaimers
Validate different user scenarios
Testing catches edge cases early, especially in complex environments.
5. Deploy in phases
Start with a pilot group, then expand:
Roll out to a small team first
Gather feedback and fix issues
Scale deployment across the organization
This keeps risk low and avoids widespread disruption.
6. Decommission WiseStamp
Once Exclaimer is fully live:
Remove WiseStamp extensions or configurations
Disable legacy templates
Confirm all users are routed through Exclaimer
At this point, signature management is centralized and controlled.
Post-migration checklist: How to verify your Exclaimer rollout
After deployment, take a moment to confirm everything is working as expected.
Signatures apply consistently across all devices
User details sync correctly from your directory
Disclaimers appear where required
Branding matches approved templates
Role-based access is set, so non-IT teams can update signatures within defined guardrails
Audit logs track changes and activity
You should also see a drop in signature-related support tickets. If not, something in the setup needs adjusting.
Start your migration to Exclaimer today
Moving from WiseStamp to Exclaimer isn’t just a platform switch. It’s a shift to centralized control and brand governance at scale.
You get:
Consistent signatures across every user and device
Clear ownership between IT and other teams
Built-in compliance and audit visibility
Less time spent fixing signatures
Most teams don’t realize how much time they’re spending on signatures until they stop managing them manually.
If your current setup feels harder than it should, it probably is.