


How to create an Android email signature
21 October 2025
0 min read
TL;DR
- Default email Android signatures like “Sent from my Android phone” look unprofessional in business emails
- You can create an Android email signature in the Email or Gmail app, but Gmail mobile only supports plain text
- Adding an HTML email signature on Android requires manual copying and pasting with varying results
- Centralized management with Exclaimer keeps every email signature consistent, compliant, and automatically applied across all devices
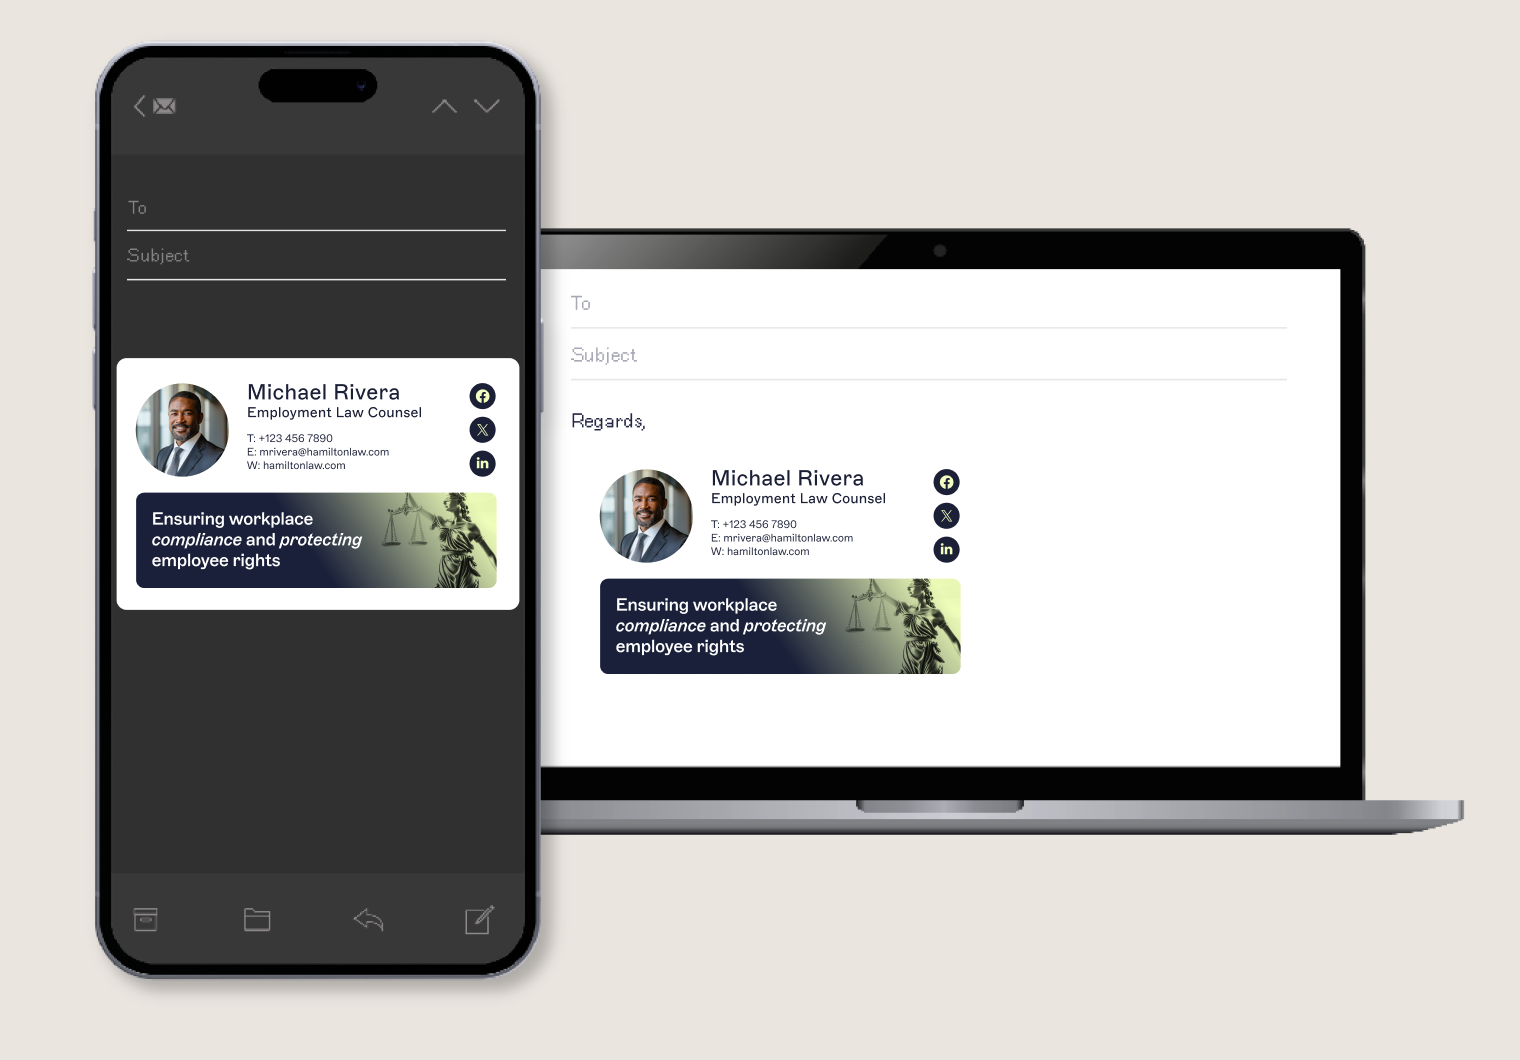
When you send emails from an Android device, your message often ends with a default line like “Sent from my Android phone” or “Sent from my Samsung Galaxy”. While this might be fine for personal use, it doesn’t look professional in a business context.
A well-designed Android email signature reinforces your brand, builds trust, and makes every interaction look consistent across your organization. Default mobile email signatures, on the other hand, can make your emails look rushed or unbranded.
Android devices let you create your own custom email signature using one of two main apps:
The default Email app, which supports most mail services.
The Gmail app, designed specifically for Google Workspace or personal Gmail accounts.
In the next section, we’ll show you how to create an Android email signature step-by-step, whether you’re using Gmail or another mail client.
Create an Android email signature
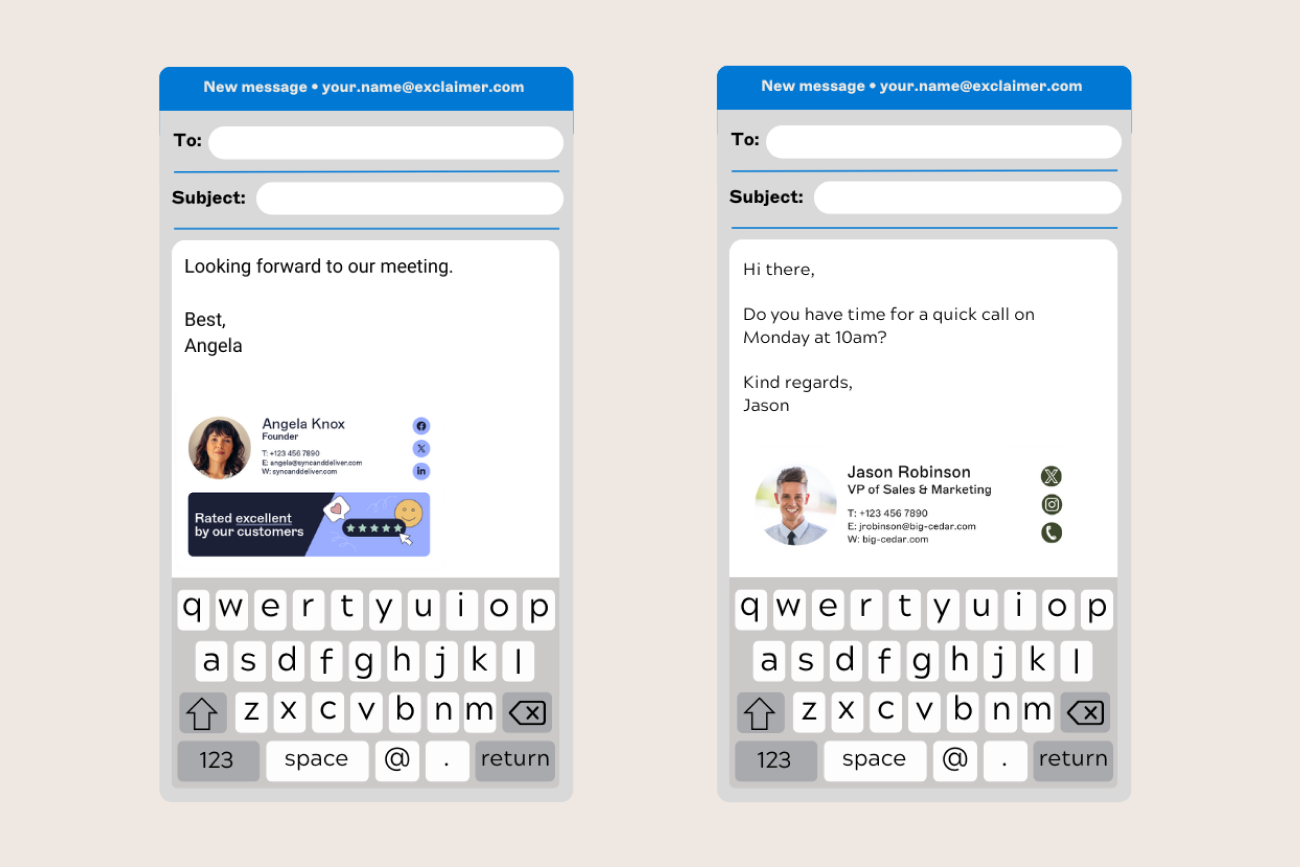
Creating an Android email signature is simple. Whether you’re using the Gmail app or your phone’s default Email app, you can replace the standard “Sent from my Android phone” message with a professional sign-off that includes your name, title, and contact details.
Open your email app.
Launch the Email app or Gmail app on your Android device.Go to Settings.
Tap the Menu (☰) and choose Settings.
Select your email account.
Pick the account you want to add or edit your signature for.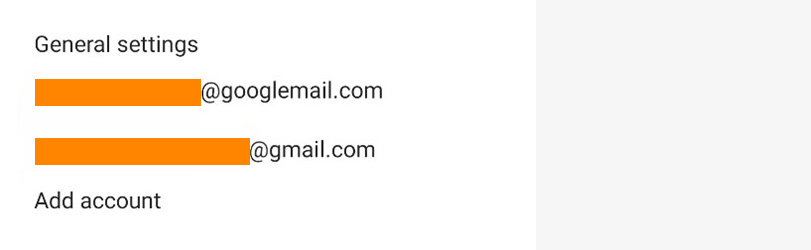
Find the Signature option.
Tap Signature or Mobile signature (this wording may vary by device or email app).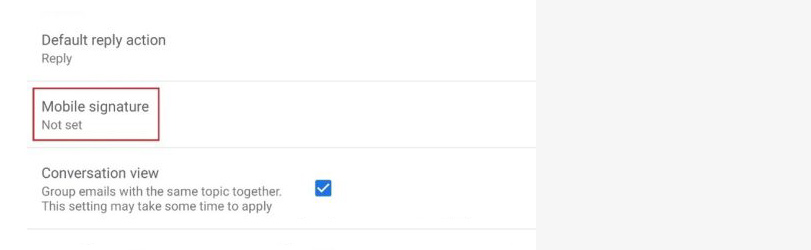
Add your details.
Type your preferred sign-off.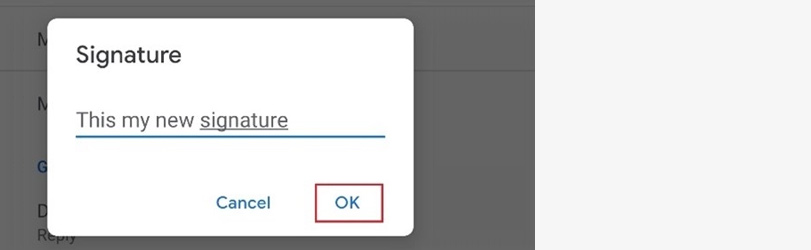
Save your changes.
Select OK or Save.
Important note on HTML email signatures
If you want to use an HTML email signature (including logos, images, or clickable links), the Gmail mobile app doesn’t support this feature. It only allows plain text.
That means if you try to paste HTML code into your Gmail app’s signature field, the email will display the raw code instead of your formatted design. This limitation doesn’t apply to desktop Gmail or iOS devices, but it’s a common restriction on Android.
Using HTML in an Android email signature
If you’re using the native Email app on Android, it is technically possible to add an HTML email signature. However, the process is manual and inconsistent across devices.
Create your HTML signature.
Design your email signature in HTML using your preferred editor or an online generator.Send the signature to yourself.
Copy and paste the HTML version into a web-based client such as Outlook.com or Gmail, then send it to the account configured on your Android device.Copy the signature from your email.
Open the message on your Android device, press and hold over the signature area, then tap Copy.Open your Email app settings.
Go to the Menu → Settings → General Settings.Enable and edit your signature.
Make sure Use signature is selected, then tap Signature. Press and hold in the text field, choose Paste, and remove any existing default text.
Note: Some Android manufacturers, such as Samsung, provide their own Email app with slightly different settings. The exact steps may vary by device.
Why this method isn’t ideal
While this approach technically works, it’s far from efficient for businesses. With hundreds of Android models and multiple mail apps in use, manually copying and pasting HTML signatures is time-consuming and unreliable.
No consistency: Different devices render HTML differently, so logos, fonts, and layouts may break.
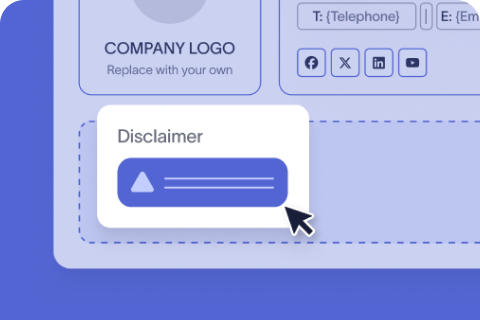
No compliance control: IT can’t guarantee the right disclaimers or legal text are included.
No visibility: There’s no way to track who’s using the correct signature or to update templates across users.
With Android accounting for more than 80% of the global mobile market, maintaining control manually is nearly impossible. For organizations that need professional, consistent branding on every email, a centralized solution is the only sustainable option.
Centralized control for Android email signatures
Even when you manage to add an HTML email signature on Android, it’s still a manual workaround. Every change means repeating the process user by user, device by device. For IT, that’s not sustainable.
With Exclaimer’s cloud solution, there’s no need to edit settings on individual phones or ask employees to copy and paste templates. Signatures are applied automatically through Microsoft 365 or Google Workspace, so every message, including those sent from Android, stays consistent, compliant, and on brand.
You set the standard once. Exclaimer handles the rest.
Why it matters
Consistency everywhere: Every device and department uses the same approved layout.
Fewer manual updates: Central management replaces ad-hoc fixes and support tickets.
Built-in compliance: Legal disclaimers and regional variations apply automatically.
Safe delegation: Marketing or HR can update content without risking IT control.
When email signature updates work this smoothly, no one has to think about them. And this is exactly how IT prefers it.